Experience: Workshop 1
- chiaverinamarylin
- Mar 8, 2020
- 3 min read
Experience is my new self initiated project, as Lin Trips was starting to get tight on stories to draw about.
Here is the Brief I am following:
Over the course of the month, I will be attending as many workshops as I can to accumulate as much knowledge as I can.
I plant to go to the orb website each day and subscribe to relevant workshops and relocate the knowledge and experience in a blog post.
This brief is focused on the experience and knowledge of different practices.
The first workshop I have completed was about how to create files that would be used for printing techniques, such as: the Litho, Riso and Screen printing.
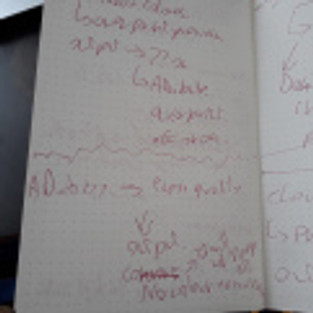
Here my messy notes I followed to recreate what we did in the class for this blog post:


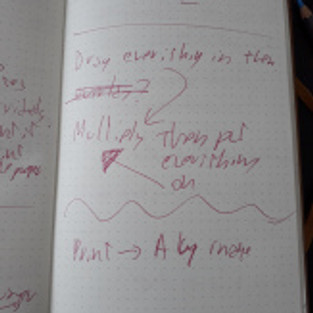


Screen Printing:
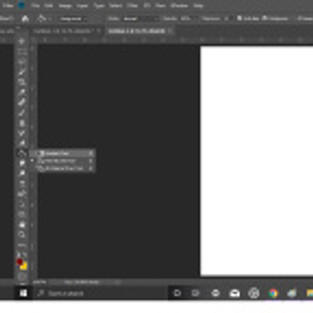
Using an image I already created I begun to follow my notes to create this succession of actions:

This is the image I chose to use for this experiment. (Also it is important to remember that you need to unlock the background layer.)

It is important to have the image settings under gray scale, even if the image may be already be in that style, because it might still have some colour in them still.

Now that the The image is in gray scale, the next step would be to create the halftones:


Less dots, it will appear more pop art style, more dots it will be more subtle. Also the teacher did say that we need to make sure that we would ask the technicians about the screen the University has, to set these settings properly.
Here is a close up:

Saving:
This slideshow requires JavaScript.
For these type of files, the teacher tough us, that is best having it on TIFF or Photoshop file for better quality.
Next was a technique that can be used by every type of printing:

I choose this picture I took last year as an example as it is one of the most colourful image I own to get the best distinction between channels.

The colours needs to be on CMYK. Next up was to get different channels, each having a different colour: Cyan, Magenta Yellow and Black.
Go to Window —-> Channels

This slideshow requires JavaScript.
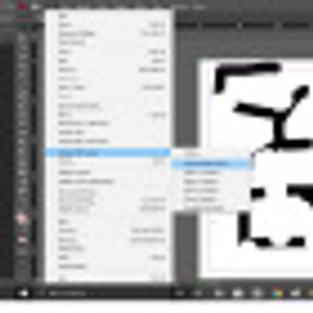
To get each image in a different file, go to the three horizontal lines and click on split channel.
There was something else the teacher did but I do not know how to recreate it. He showed us how to recreate the original image.
Riso Printing:
We started with creating a new file, went to the print section and selected the A4.


Honestly, it is quite complicated for me to say in words what we did for the riso printing unfortunately. I do know how, it is a problem only to explain it again.
Thoughts of the Workshop.
I enjoyed learning something new on photoshop and how to create these types of files for creating prints. The only problem that I faced was the pace of everything, I had to take notes quite quickly, and as pointed out earlier my hand writing is not good. I am also less computer smart than I thought I was, that is a challenge I need to overcome quickly as well. The last thing I should have done that I did not was to ask more questions and ask if I could record the session as to have both my notes and what the teacher said at the same time.


Comments